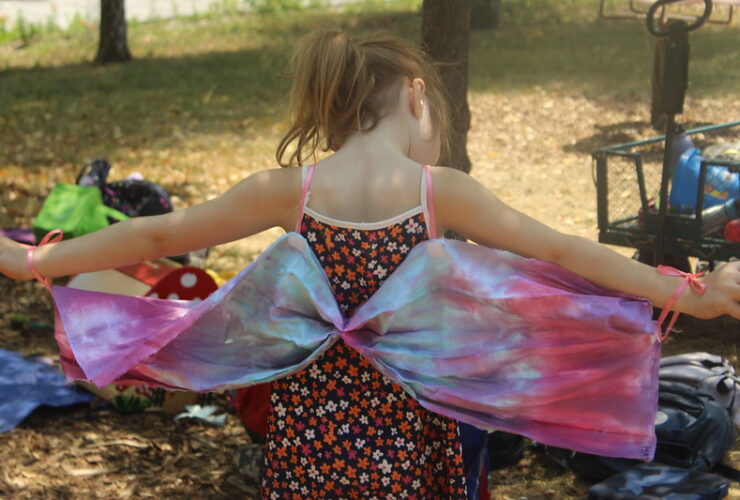

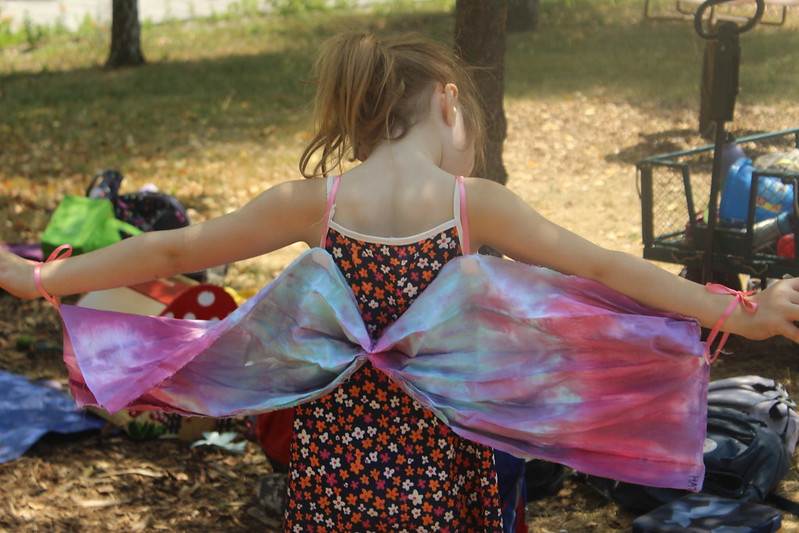
Fairy Wings
Building fairy wings is the perfect creative activity to help your little one feel magical!
What you need:
- Cardboard or poster board (any large piece of stiff paper)
- Scissors
- Hole punch (you can use scissors if you don’t have a hole punch)
- Yarn, string, or ribbon
- Markers or paint
- Glue (glue stick or school/tacky glue depending on the other materials you use)
- Any bits of art supplies you may have (stickers, pompoms, glitter, sequins, tissue paper, etc)
Here are the steps:
- Cut your fairy wings out. Older children may be able to take it from the top but the under 10’s may need the help of an adult with this part. Fairy wings come in all shapes and sizes so just go with your gut. For symmetrical fairy wings, fold your paper or cardboard in half before cutting. If you don’t feel comfortable freehanding the cutting, draw your shape in pencil first.
- On either side of the center, punch two holes. You’ll use these later to add yarn, ribbon, or string so your child can wear the wings.
- Decide how messy you’re willing to get and decorate your wings. On the low end, washable markers and stickers on the high end, glue, glitter, even paint.
- If you used glue or paint, let your wings dry completely.
- Cut 2 pieces of yarn, string, or ribbon. Thread one piece through the two holes on one side of the wings. Repeat with the other side. Tie so your child can wear the wings like a backpack.
Decoration ideas & tips!
- Tear off and crumble up small pieces of tissue paper to give a 3-D effect.
- Use natural materials by gluing on leaves, flowers, and twigs you collect outside.
- Use glitter glue to give sparkle without the mess of glitter itself!
- No art supplies? Use dry beans and different pasta shapes.
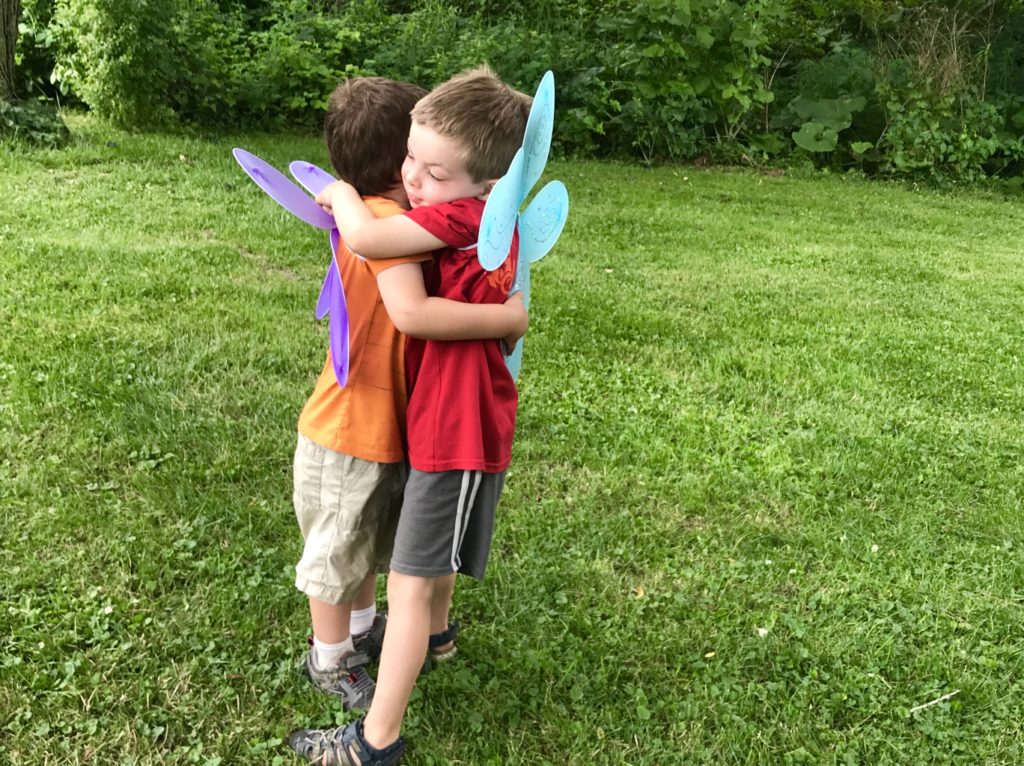
Take your wings for a whirl. Don’t forget to share a photo by including the hashtag #ithacachildrensgarden!