


Setting up a Worm Compost Bin
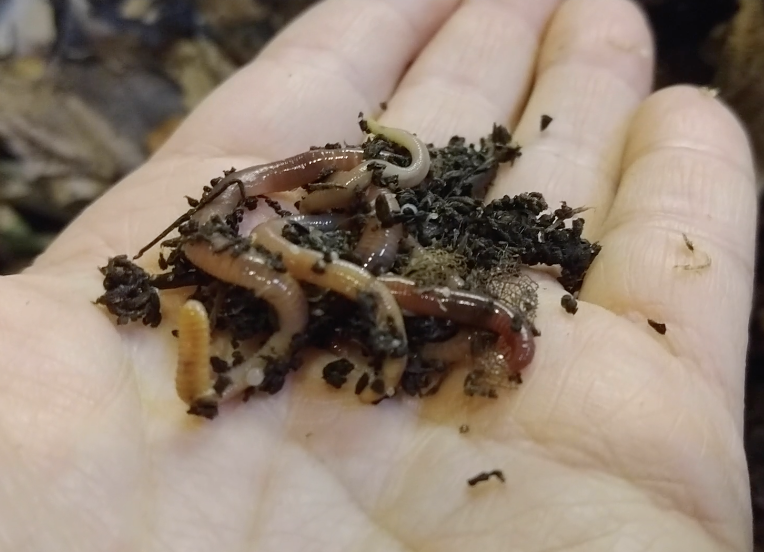
Not only are worms wiggly and cute, but they are also SUPER useful to keep around the house! Worms will eat your food scraps and produce rich, beautiful compost that is amazingly healthy good for plants.
Materials:
- Some sort of box or bin, that has a cover and some holes for airflow. Ideally about 5-10 gallons. It should be clean and free from any chemical residue that could harm the worms. You can use a 5-gallon bucket or kitty litter bucket with a lid by drilling holes (⅛”) in a ring around the top of the bucket and all throughout the lid for airflow. Plastic storage totes and old Styrofoam coolers work well too.
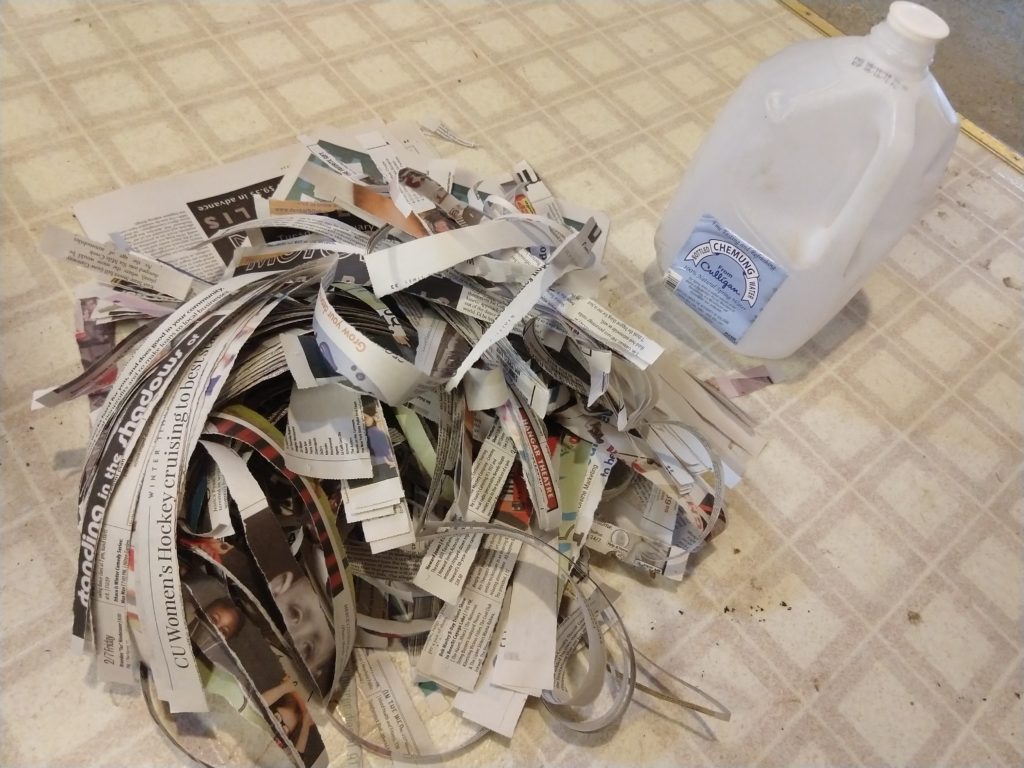
- A lot of newsprint or other types of paper that can be shredded (avoid heavy, shiny or colored paper)
- Water
- About 2 cups of soil, either potting soil or soil from your garden works. The soil helps the worms digestion and introduces beneficial microorganisms to your bin.
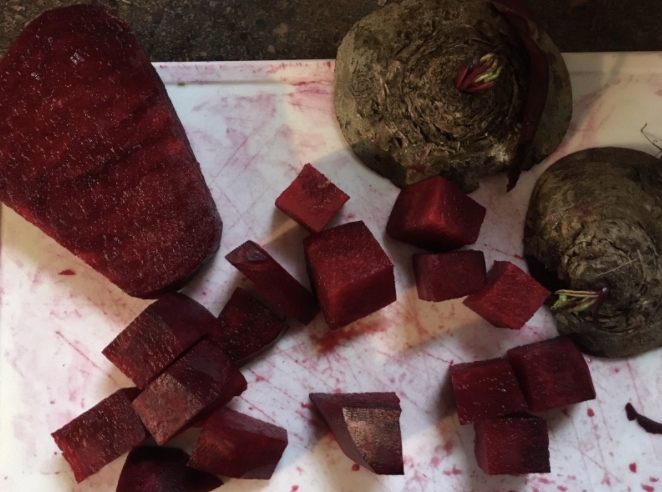
- Food scraps: any leftover parts of your food (EXCEPT for onions, citrus, meat, oil, or dairy). Smaller pieces (like peelings or crushed eggshells) are best. Teabags and coffee grinds are great, but a variety of food is important.
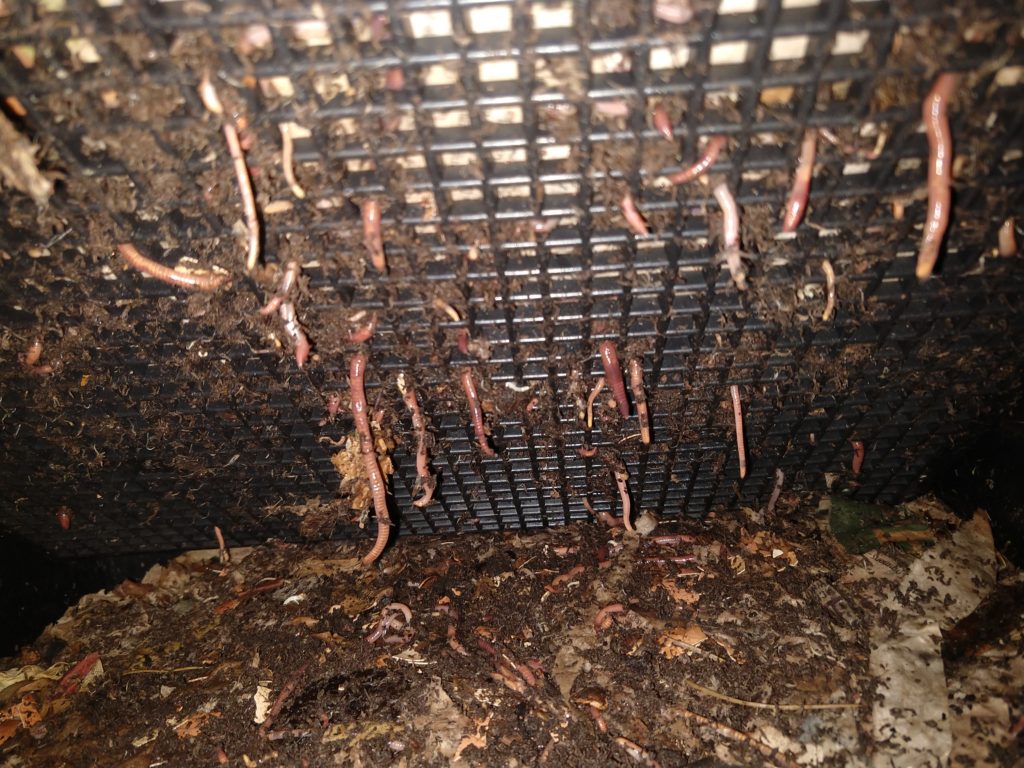
- A handful of Red Worms (aka Red Wigglers)
The steps:

- Find a box to use and prepare it by making air holes and cleaning it out. If you’re using a wooden box, it may be best to line it with plastic.
- Once your box is ready, start shredding the paper. I like tearing newspaper by hand. Kids can get really good at this! You can measure ½”-1” at first to see what those strips look like, then just go for it. A variety of sizes is ok. You’ll want to start with about 50 pages of paper shredded.
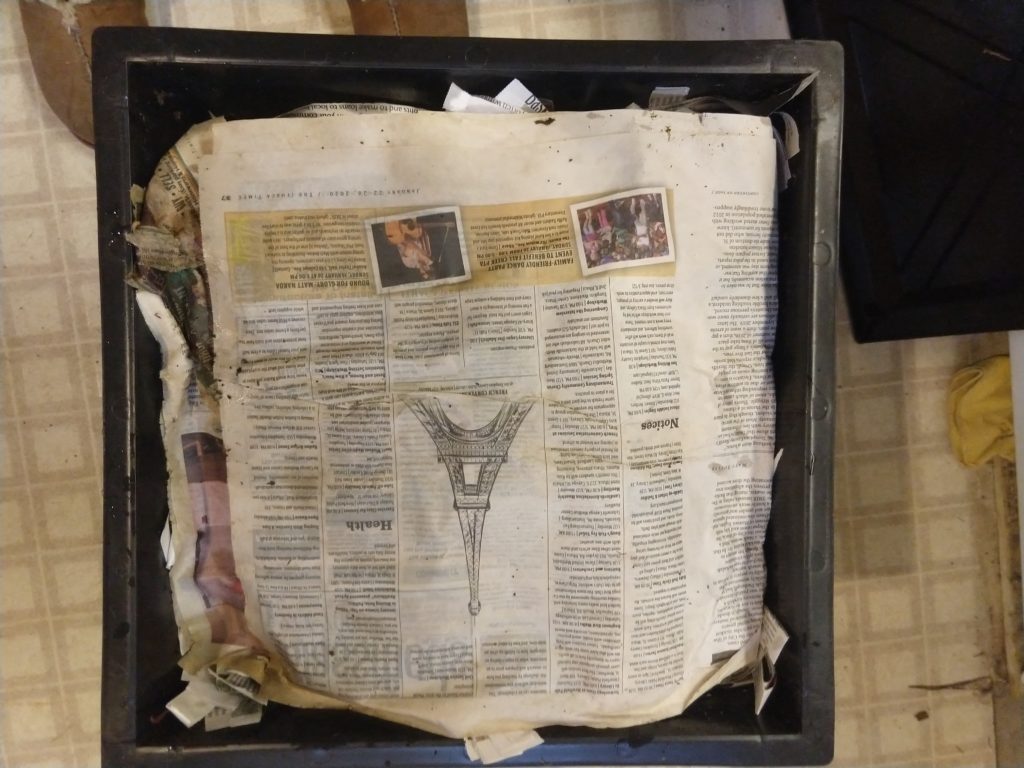
- Now that your box is full of shredded paper, fluff it up! Then, slowly start adding and keep fluffing until the bedding is moist (like a damp sponge) but not soggy (with puddles or dripping when you squeeze). The bedding provides some food, shelter, water, and air- all things the worms need. Cap the bedding off with a few entire sheets of paper, also made damp.
- Peel back the bedding and place your first batch of food scraps under it. Sprinkle the soil around in there too.
- Now it is time to add the worms to their new home! Check your worms about one time a week (not much more because they don’t like the light). Feed them your food scraps and ensure the entire bin is appropriately moist and fluffy. I separate my food scraps and keep the best ones for my worms. They love carrot and potato peels, coffee rinds and paper filters, any type of fruits (apple cores), avocado skins (broken up), and crushed eggshells.
- Find a location for your worm bin. They need to be protected against direct sunlight (excessive heat) and freezing cold. I keep mine in the basement.
More resources on worms:
- Make a Worm-Composting Bin From Plastic Buckets
- Six Easy Steps to Setting Up a Worm Bin
- How to Create and Maintain an Indoor Worm Composting Bin