


Making your own tea!
Looking for a way to make tea to stay warm during this chilly early spring? Make tea bags using dried herbs you have on hand!
ICG Educator Lauren Salzman is staying connected to nature from inside her home by finding things in nature that her family can eat! Here, she and her daughter harvest tea from white pine needles.
Making Tea Bags
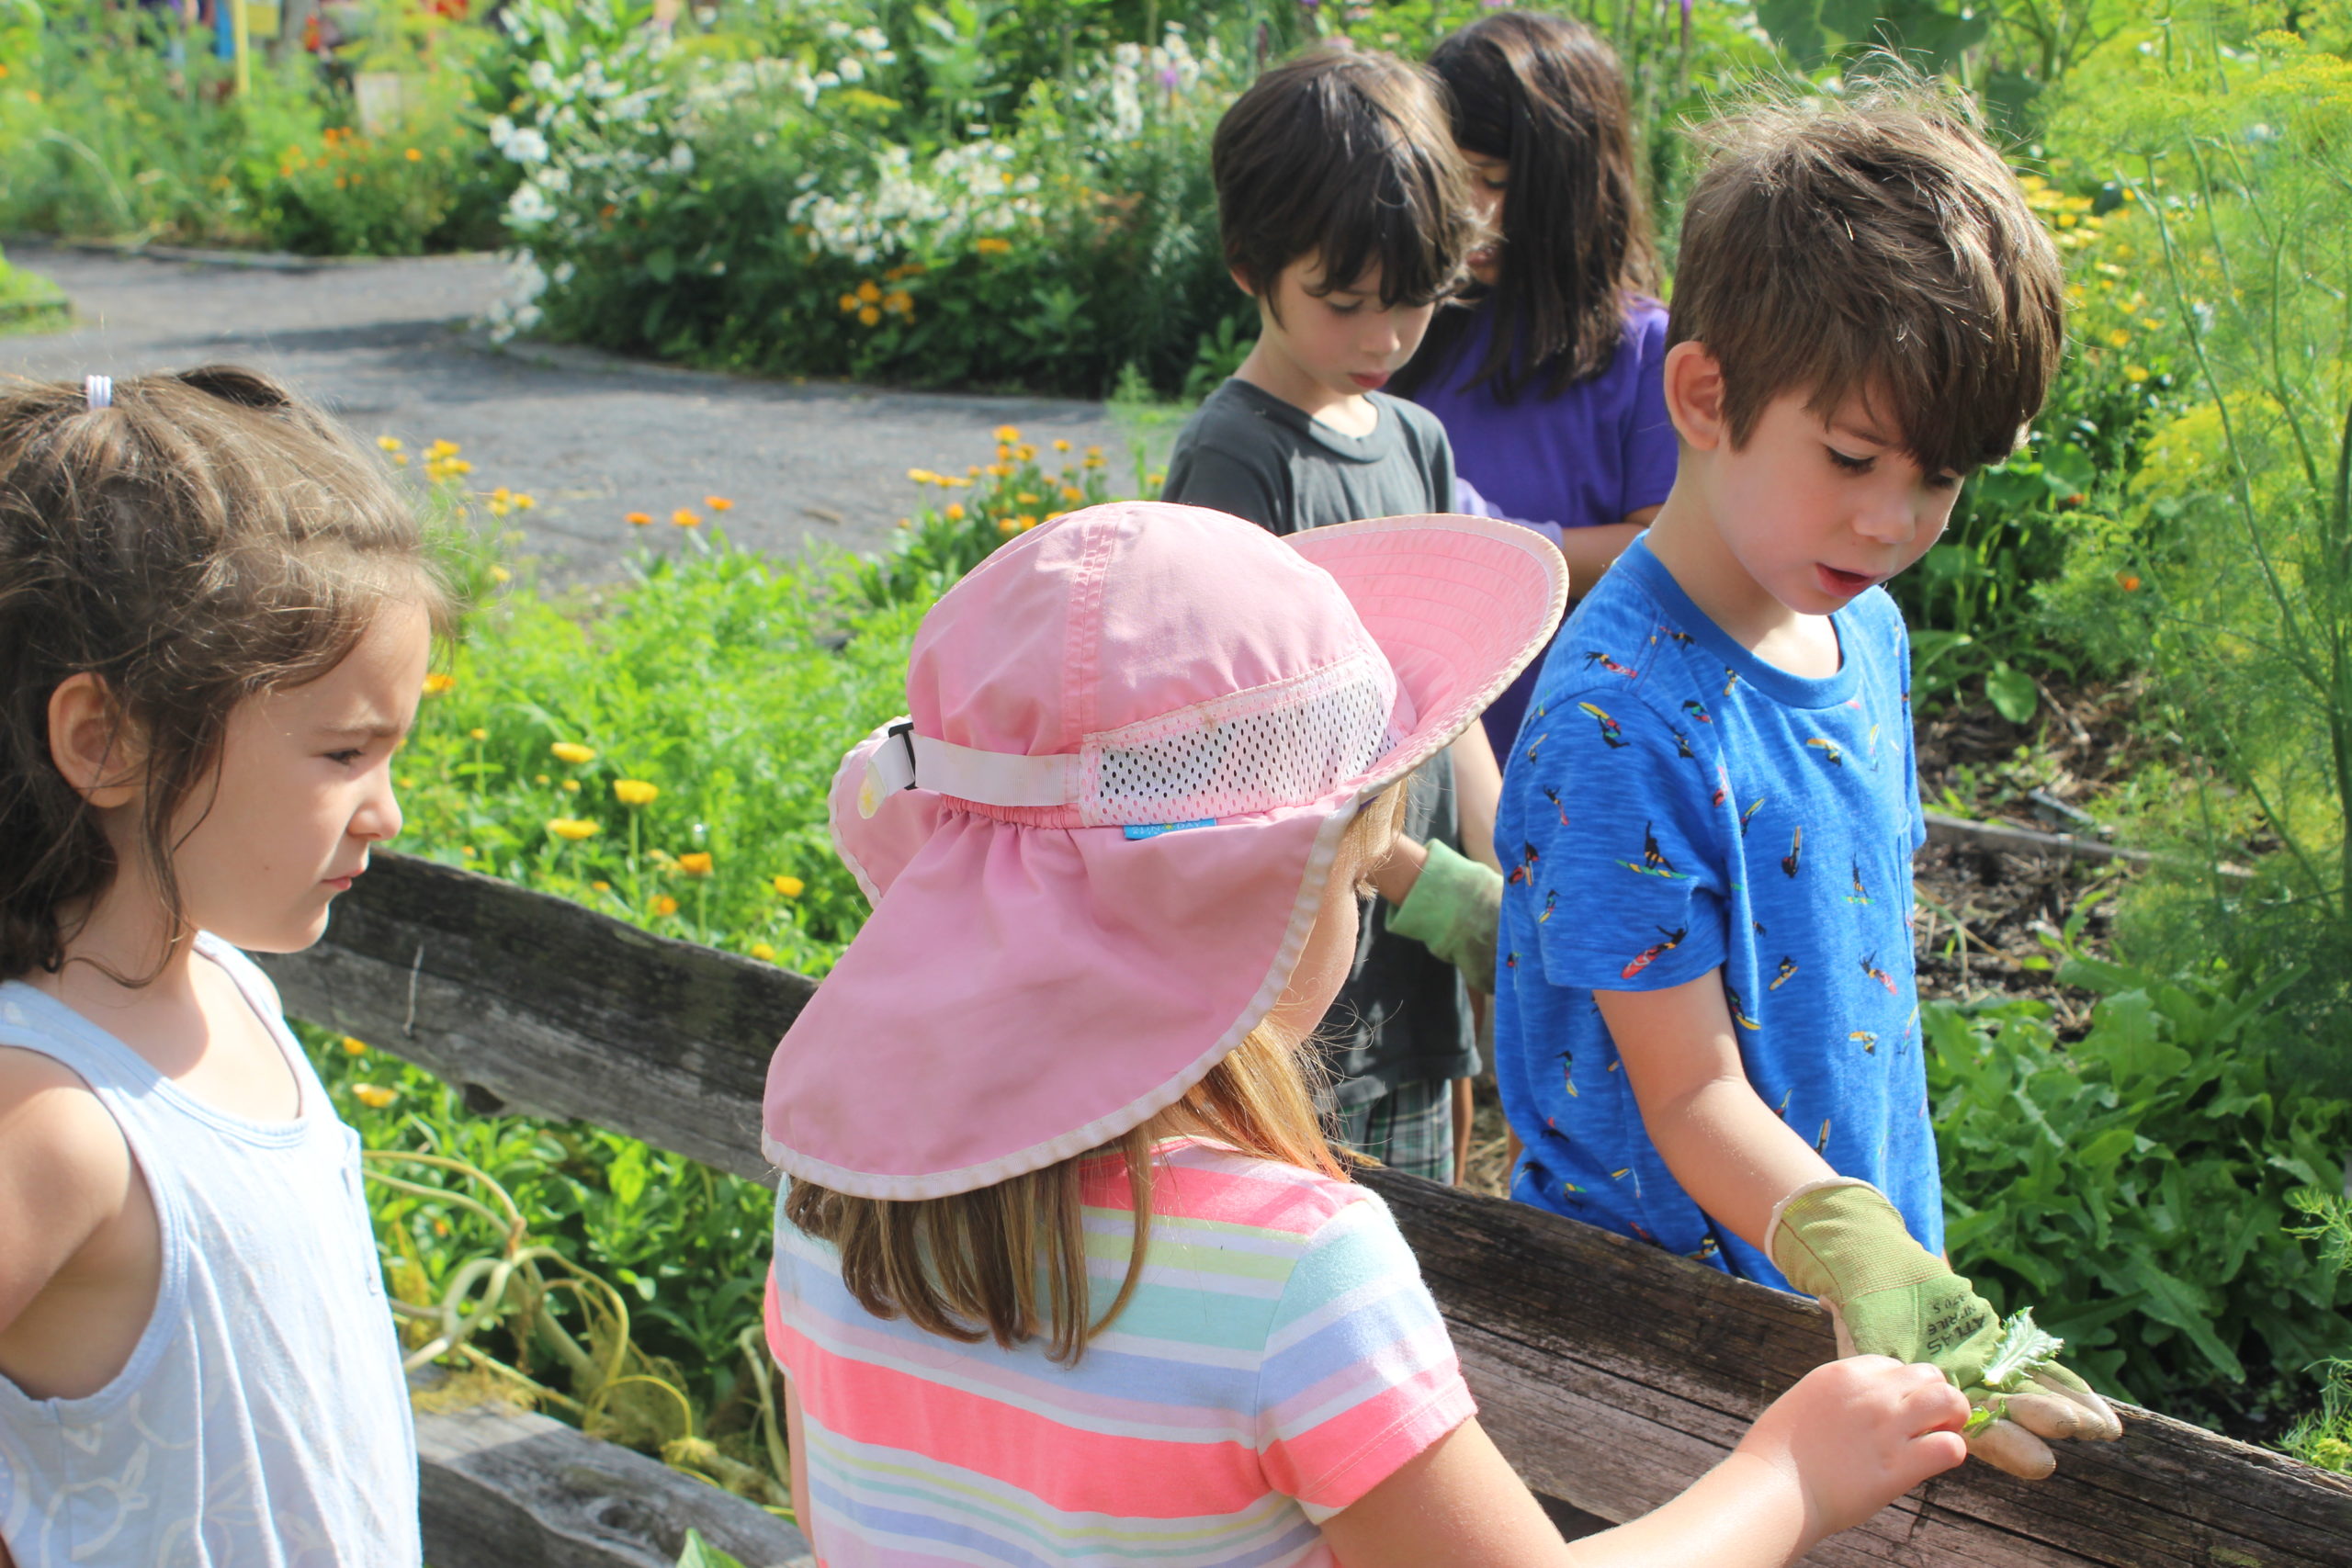
Herbs are such versatile and useful plants. They make their way into our everyday lives through the foods we eat and drink, the medicines we use, and the bouquets and fragrances we enjoy. Even if you don’t grow fresh herbs, their tastes and aromas can be explored in their dried form. A great hands-on way to experience herbs with all your senses is through herbal teas.
Materials:
- Coffee filters
- Scissors and staplers
- Baker’s twine or string
- Cardstock scraps
- Markers or colored pencils
- Dried herbs such as: chamomile, nettle, catnip, anise, cinnamon, mint, bee balm, rose hips, lavender, lemon balm, blackberry leaf, or other herbs you enjoy
- Bowls and spoons
- Hot water, mugs or teacups
- Optional: freshly picked herbs, twist-ties, mesh produce bags or paper bags
Directions:
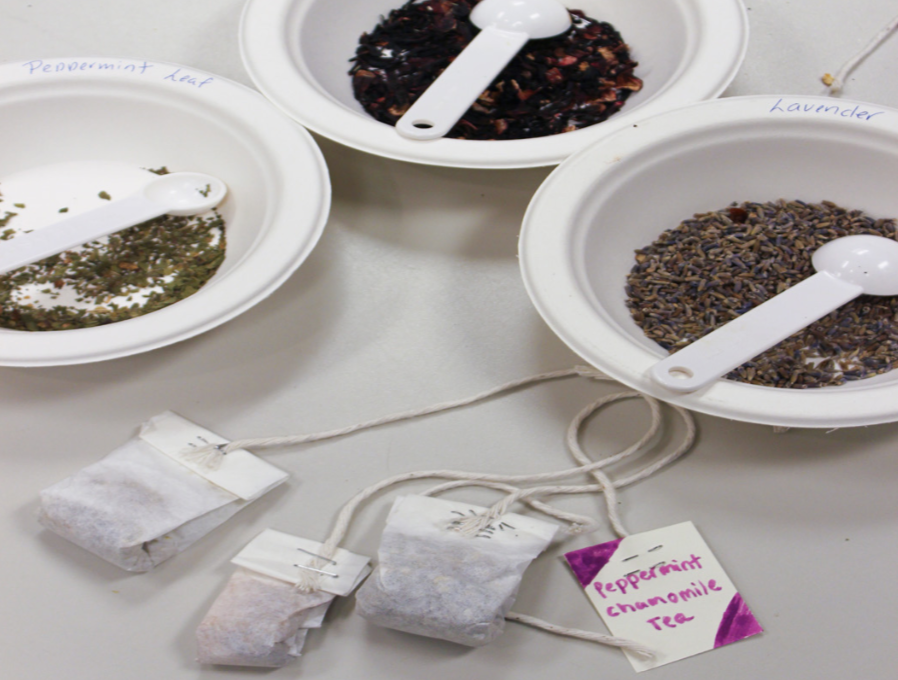
- Pour dried herbs into bowls. Set a spoon next to each. Write the name of each herb on a scrap of card stock and place it underneath the bowl so it is out of sight.
- Ask the children to use their senses to explore the herbs. Smell, taste, touch. Ask if they can identify any by sight, smell or taste. What happens when you smell two herbs mixed together?
- Reveal the herbs’ names and place the labels next to each bowl. Encourage the children to design a blend of herbs that appeals to them. They can use the scrap paper to record their ingredients.
- Flatten out a coffee filter and use scissors to cut 0.5” – 1” from each side, turning the circle into a rectangle. Add about a tablespoon of your blend of dried herbs to the middle of the coffee filter. Fold the long sides in so they overlap and cover the herbs in the center of the filter. Fold it in half, bringing the long ends together. Tap gently so the herbs settle to the bottom. Fold the open top down two times and use a stapler to secure it.
- Cut a length of baker’s twine. Staple it to the top of the tea bag. Use scrap card stock and markers or colored pencils to design a tag for your tea bag and give it a name. Use a stapler to attach the tag to the end of the string.
- Repeat until each child has made at least a few different tea bags, so they’ll have one to taste and one or more to share.
- Now enjoy the tea! Steep the tea bags in mugs of hot water for 3-5 minutes. Let it cool and sip away.
Extension:
DRY YOUR OWN HERBS: Harvest mid-morning after the dew has dispersed and before the sun evaporates all the newly formed essential oils. Bundle the herb stems loosely with twist-ties. Using twist-ties allows you to tighten the bunch easily as it dries and shrinks. Hang the bundles upside down in a dry place. Wrap a mesh produce bag or a paper bag with some holes punched in it around the herbs once they begin to dry, to catch any dried leaves that fall from the stems. Use the herbs for the activity above when they are completely dry.